We all love the Nintendo Entertainment System and its classic games, but it’s safe to say there are certain drawbacks when it comes to the hardware inside Nintendo’s legendary 8-bit console. The most obvious and severe of these issues is the fact the system’s video output only supports composite video at best, meaning that getting any sort of high-quality video out of the NES involves complicated and expensive RGB or HDMI mods. The prices can get extremely high especially if you’re in the market for a pre-modded system, and if you’re a more casual NES fan you probably won’t bother with any of that.
The first model of the Analogue Nt also counts as an original hardware solution because it uses processing chips from old NES and Famicom units, but this version of the Nt was discontinued years ago and is prohibitively expensive these days. Even more so than when it was new, that is — Analogue’s systems have traditionally been the retro gaming equivalent of Patrick Bateman’s stereo, although more recently they’ve switched their focus from “ultra-flashy and equally expensive products for people with too much money” to relatively affordable retro consoles such as the Super Nt.
If you don’t want to go the original hardware modding route but still wish to play your original cartridges, there are a few options. Plenty of clone consoles exist on the market, but most of them are lacking in video output options or are simply emulation boxes that dump the ROM images from the cartridges, and are just generally disappointing. For many years, the general rule when it came to clone consoles was “If you need to ask if a clone system is for you, it probably isn’t.” More recently, things have started to change somewhat, thanks in large part to the drastic decrease in prices of field-programmable gate arrays.
A field-pro-whatchamacallit? Now, I am not a programmer so this is not going to be the most detailed explanation, but basically an FPGA is a circuit that can be programmed to perform various actions such as accurately simulating the functions of another set of hardware, for example a retro console. In the hands of a skilled programmer, an FPGA can mimic the hardware to the extent it performs practically identically to the original design.

This is where the retroUSB AVS comes in. Named after Nintendo’s original American prototype for the NES, the Advanced Video System, the FPGA-based AVS is not an original hardware solution but it is as close as you can reasonably get without gutting old Nintendo systems like Analogue did with their first Nt model. It interacts with NES and Famicom games and peripherals just like an original system would, no emulation or ROM dumping is happening here.
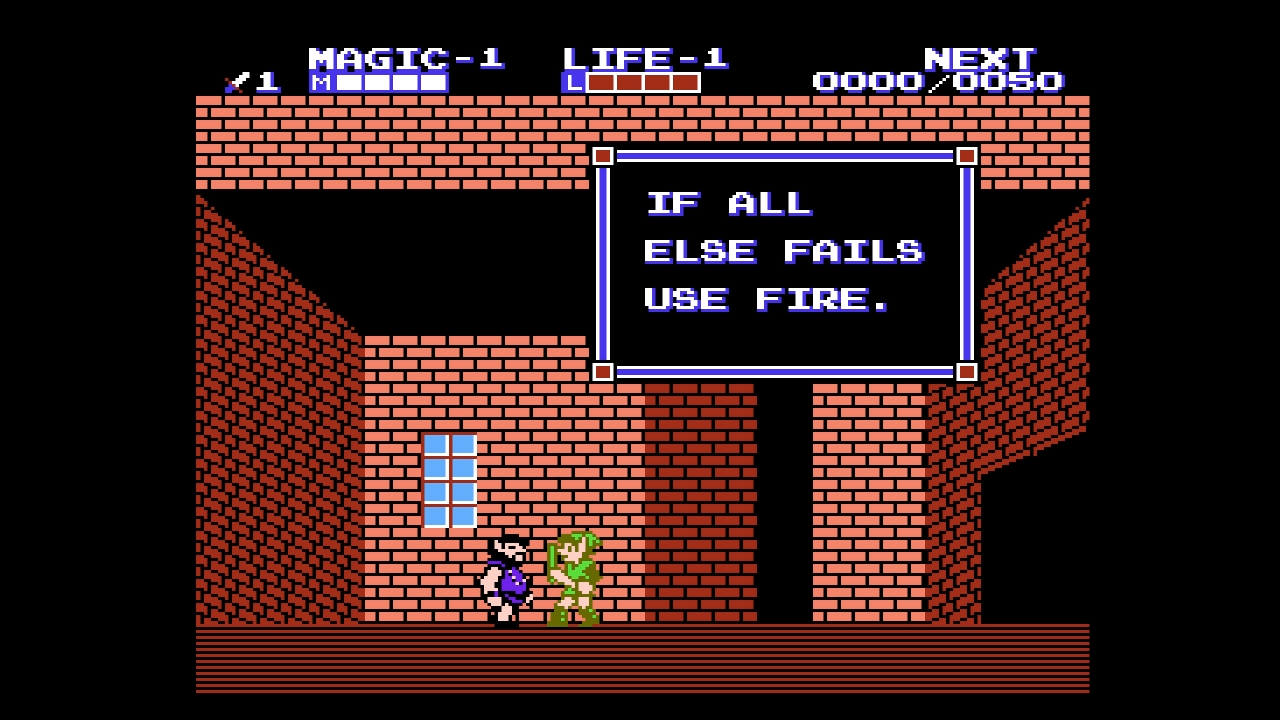
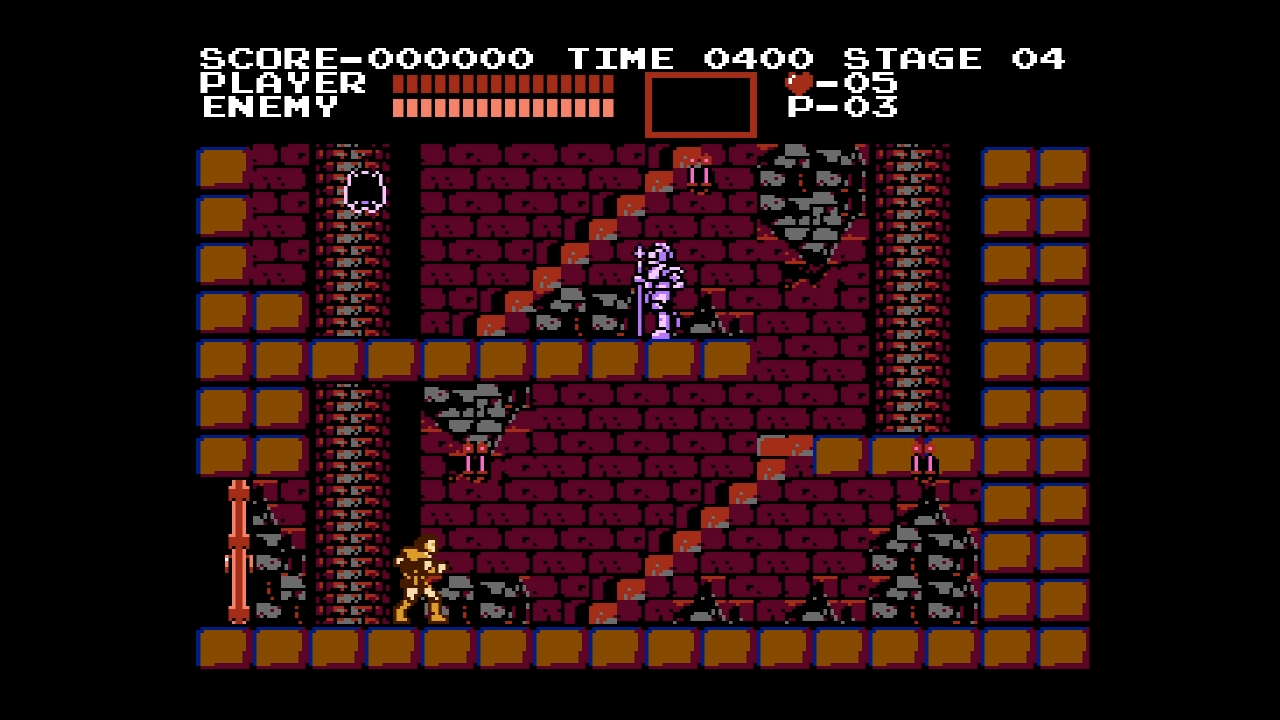
Flash carts work, as do dodgy pirate cartridges if you’ve got some of those lying around. Just make sure your carts are cleaned properly, because the AVS can be just as particular about carts as an original NES and the cart slot also has a bit of a death grip. The Zapper and ROB aren’t supported, but those wouldn’t work on an HDTV in the first place. All screenshots in this review were captured from the AVS, using the Elgato Game Capture HD60.
The AVS has been on the market for a few years now so there isn’t anything necessarily new in this review, but since I finally got my hands on one of these things I figured I might as well write a few words about it. The problem I’ve been having is that buying the AVS costs quite a lot when you have to import the system from the US, and I just haven’t felt comfortable spending a bunch of money on shipping and customs fees on top of the $185 USD price tag.

However, I finally decided I wanted to play my NES and Famicom games in HD, so it was either this or one of the even more expensive mods for my AV Famicom. Analogue’s FPGA-based Nt Mini is out of stock in their online store, and it costs 449 dollars anyway so it’s more of a premium product. The AVS doesn’t have as many features as the Nt Mini, but retroUSB’s system is no slouch and I feel it offers a good balance between price and performance.
So what are the features on the AVS, then? Well, let’s take a look at the box, shall we?

Much like Nintendo’s NES Classic Mini, the AVS only supports 720p video output through HDMI. The much more expensive Analogue Nt Mini is also capable of 1080p output as well as analog video for CRTs and professional video monitors, but the 720p image from the AVS is clean and sharp and the games look excellent on my Samsung UHD TV. The AVS doesn’t add any input lag beyond your display’s inherent lag either, so the gameplay feels nice and responsive. Obviously, being HDMI-only, the AVS is not going to work on a CRT, so if you’re a CRT purist you’ll want to look into other solutions such as the Nt Mini or RGB mods for your original console.

When you start up the AVS, you’re greeted with the menu seen in the above screenshot. It is possible to set the system to auto-play the cartridge you put in, but it can be useful to start from the menu instead (you can also set a button combination to access the menu at any time).
Going in a clockwise direction, the icons on the menu are Start Cart (seen on the screenshot), Game Genie (for inputting cheat codes, if you’re terrible at NES games like yours truly), Input Options (where you can set up your controllers and peripherals), Video Options (we’ll take a look at that in a bit), and Scoreboard (online high score system). Let’s have a look at those video options, then, because they are by far the most interesting section of the menu:

Video Mode switches between NTSC and PAL, 60 Hz and 50 Hz. I ranted about those in an earlier article so I’m not going into detail here, but you’ll definitely want to set the video mode based on your game’s region because otherwise weird glitches will happen.
Pixel Aspect sets the screen’s aspect ratio. NES games run at a native resolution of 256×224 (move the slider all the way left for this pixel perfect mode) but are intended to be seen at a slightly wider, roughly 4:3 aspect ratio. On a CRT television, the screen would do the work and stretch the pixels the way they’re supposed to be displayed, but in the digital realm things are a little bit different and it may be difficult to nail down the correct aspect ratio.
The default aspect ratio setting on the AVS is slightly too wide for my liking, so I used the setting recommended by the guys at My Life in Gaming. The problem there is that it’s not a perfect horizontal integer scale and the pixel sizing becomes uneven, so you’ll get some shimmering artifacts when the screen is scrolling at certain speeds.
That being said, the overly wide aspect ratio of the default setting isn’t that big of a deal and there are plenty of differences between the ways your game might appear on different CRTs on an original NES anyway (with some displaying a wider image than others), so sticking with it is a completely valid option.

Vert Border sets the height of the borders at the top and bottom of the screen. By default, you get these small borders, but you can scale them however you prefer. I quite like the fact the AVS will automatically set the borders based on your video mode, so if you’re playing a PAL game the system will adjust the image to get rid of the thick PAL borders. Very useful for those of us who still have our PAL games.

Scanlines are, uh, scanlines. I’ve never really been a fan of artificial scanlines and prefer the sharp pixel look unless I’m playing on an actual CRT, but the option is there if you want it and you can also darken or brighten the scanlines to suit your tastes.
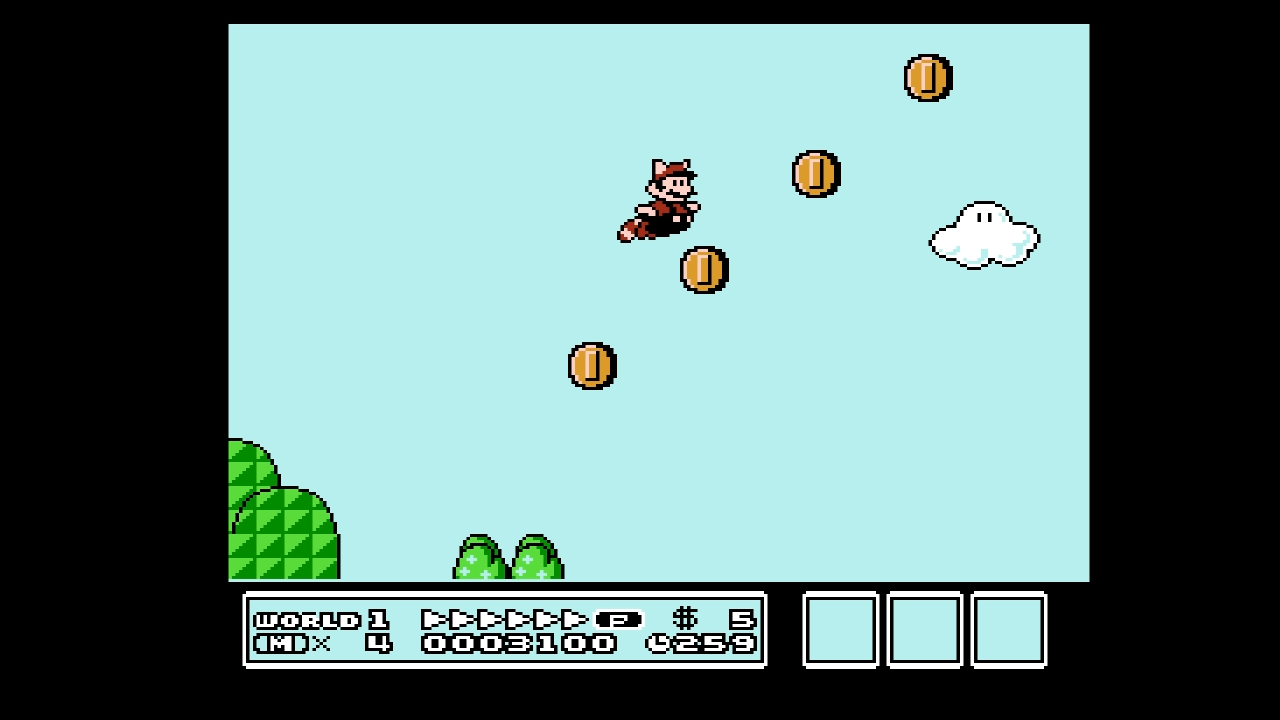
Left Side adjusts the image to get rid of the garbage pixels that appear on the edge of the screen in some games. It defaults to Hide, but I do like to have those little imperfections on the screen because they’re part of the NES experience. That being said, all of these screenshots were captured with the left side hidden and the option only affects games that actually do have garbage pixels in the overscan area, such as Super Mario Bros. 3.

The Extra Sprites option lets you increase the number of sprites the system can display at once, from eight to fifteen per scanline. Enabling this gets rid of the sprite flicker that is common in NES games, but once again I kept it turned off because I wanted the authentic experience. The AVS manual states that enabling the option might also cause issues with some games, so keep it off if that worries you.
Exp Volume adjusts the expansion audio volume on certain Famicom games that feature extra audio chips on the cartridge such as Akumajō Densetsu, the Japanese release of Castlevania III. I don’t have any games with expansion audio so I couldn’t test this feature myself, but my understanding is that it works just fine.

Palette allows you to, well, change the color palette the games use. There are a few options to choose from here and the default AVS palette is quite nice, but I went with Unsaturated v6. This palette was created by FirebrandX, the man behind the excellent Pixel Purist profiles for the XRGB-Mini Framemeister, and it has been calibrated to be as consistent with the colors of the NES composite output as possible.
Interpolation helps you smooth out the shimmering artifacts from non-integer scaling, at the cost of a slightly softer image overall (you can tell some of the screenshots in the article are sharper than others, those were taken before I turned interpolation on in the options). Personally, I found the softer output bothered me far less than the shimmering, so I’m definitely keeping interpolation enabled.

Along with NES and Famicom games, the AVS also supports the Famicom Disk System. The RAM adapter fits in the Famicom slot in a somewhat awkward manner due to the flap and the slightly cramped cartridge bay, but aside from that everything works just like it does on an actual Famicom.
To be perfectly honest, the Disk System is a notoriously unreliable piece of junk and I don’t really recommend getting one as there are more convenient alternatives, such as flash carts and the FDS Stick. However, I will say the click the FDS disk drive makes when you insert a disk is one of the most satisfying sounds in all of retro gaming.
Bundled with the AVS is an HDMI cable, a USB to mini-USB cable and an American AC adapter, along with a bare-bones manual. No controllers are included by default, but you can use any controller that works on the NES so there are plenty of options (and if you somehow don’t have any NES controllers to use with the AVS, retroUSB sells wireless controllers you can add to your order).
Like Nintendo’s NES Classic Mini, the AVS can be powered by simply connecting the USB cable to your TV, so you don’t even need to plug it into the mains. The system’s firmware can be updated by connecting to your computer via USB and using retroUSB’s Scoreboard software to download and install the update. The software can also be used for uploading online high scores to a service called NintendoAGE if that’s your thing, but I didn’t bother with any of that.
So, is the AVS worth it? Well, I wanted a way to play my NES (US and PAL), Famicom and Disk System games in HD, and the AVS performs that task with aplomb. It also has all the versatility I need from a system like this. It’s not the most feature-rich FPGA NES, but personally I am very satisfied with the AVS’s offerings.
However, if you’re a casual NES fan, 185 dollars plus whatever shipping and import costs are slapped on top of that is still quite a hefty sum, even if it is less than half of the cost of an Nt Mini. That means the AVS is still more of an enthusiast solution than anything else. More casual users may be satisfied with the NES Classic Mini or even the NES games on the Nintendo Switch, or simply emulating the games on a Raspberry Pi or a computer.
It all comes down to whether or not the AVS is something that suits your needs or you think you’d like, but the bottom line is that the AVS is one of the more versatile and cost-effective ways to play original NES and Famicom carts and disks on your HD or 4K TV. If that sounds good to you, go for it.